Let's go one step further and talk about how we can record video with the doc cam, yes...I said record videos. You may not have known that your doc cam could even do this, well it can. Now there are some restrictions to doing this depending on the model doc cam you have so I will explain how each one works.
Lumens doc cam series
We have a number of different ones in the system: DC 152, 155 and 166 (Red Models)

All these models allow you to activate the video recording feature from the software computer mode. You simply select the Record button from the tool bar
 and then while in a small floating tool bar appears in the center of the viewing area that you click and a display box opens where you name the file and select the location to save it to. Once you do this you are now
 recording all actions through the doc cam. After you have recorded your video click the Cancel Record button in the toolbar.
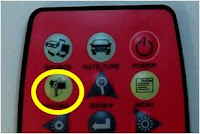
Now in the DC 166 model doc cam you also have an availability to record directly
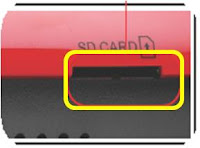
 to the doc cam with the remote control record button. There is one catch, you have to use an SD memory card (similar to what you would have in a digital camera) to record from the digital camera.
AverMedia doc cam series
We have a number of AverMedia doc cams as well that have the same feature to record video through the software, in this case AverVision 3, and here are the steps to follow. While in the
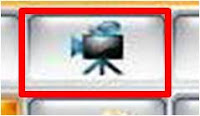
 software select the movie camera icon from the tool bar, when you do this you will have a dialogue box appear where you will name the file and select the location to save. In the viewing area of the window you will see a flashing REC and time stamp to let you know that the recording is happening. When you are done click the movie camera icon again and it will ask if you want to stop the recording and you will choose the option.
So take a look at your doc cam as more than just a projection device, look at it as another medium for media and content delivery to your students.
images provided by: AverMedia & Lumens
 1. Through the Document Camera you can click the Capture button on either the base of the unit or on the remote control.